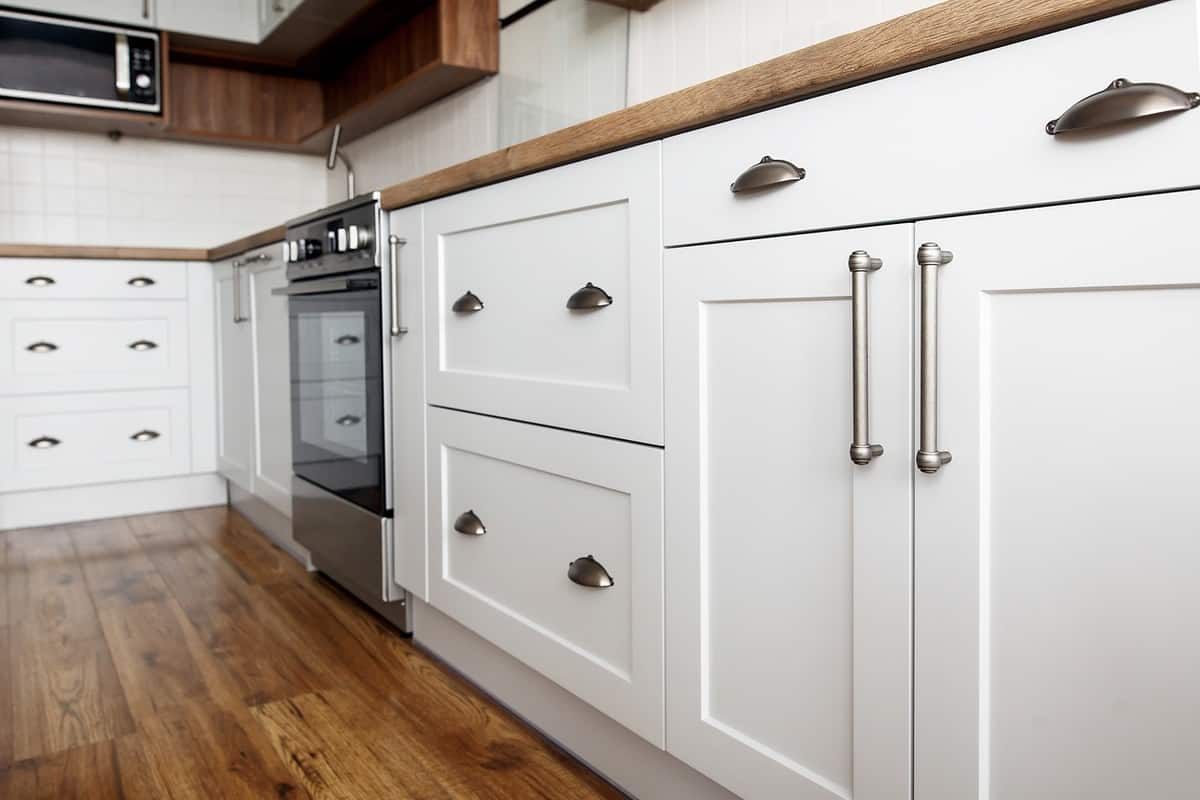
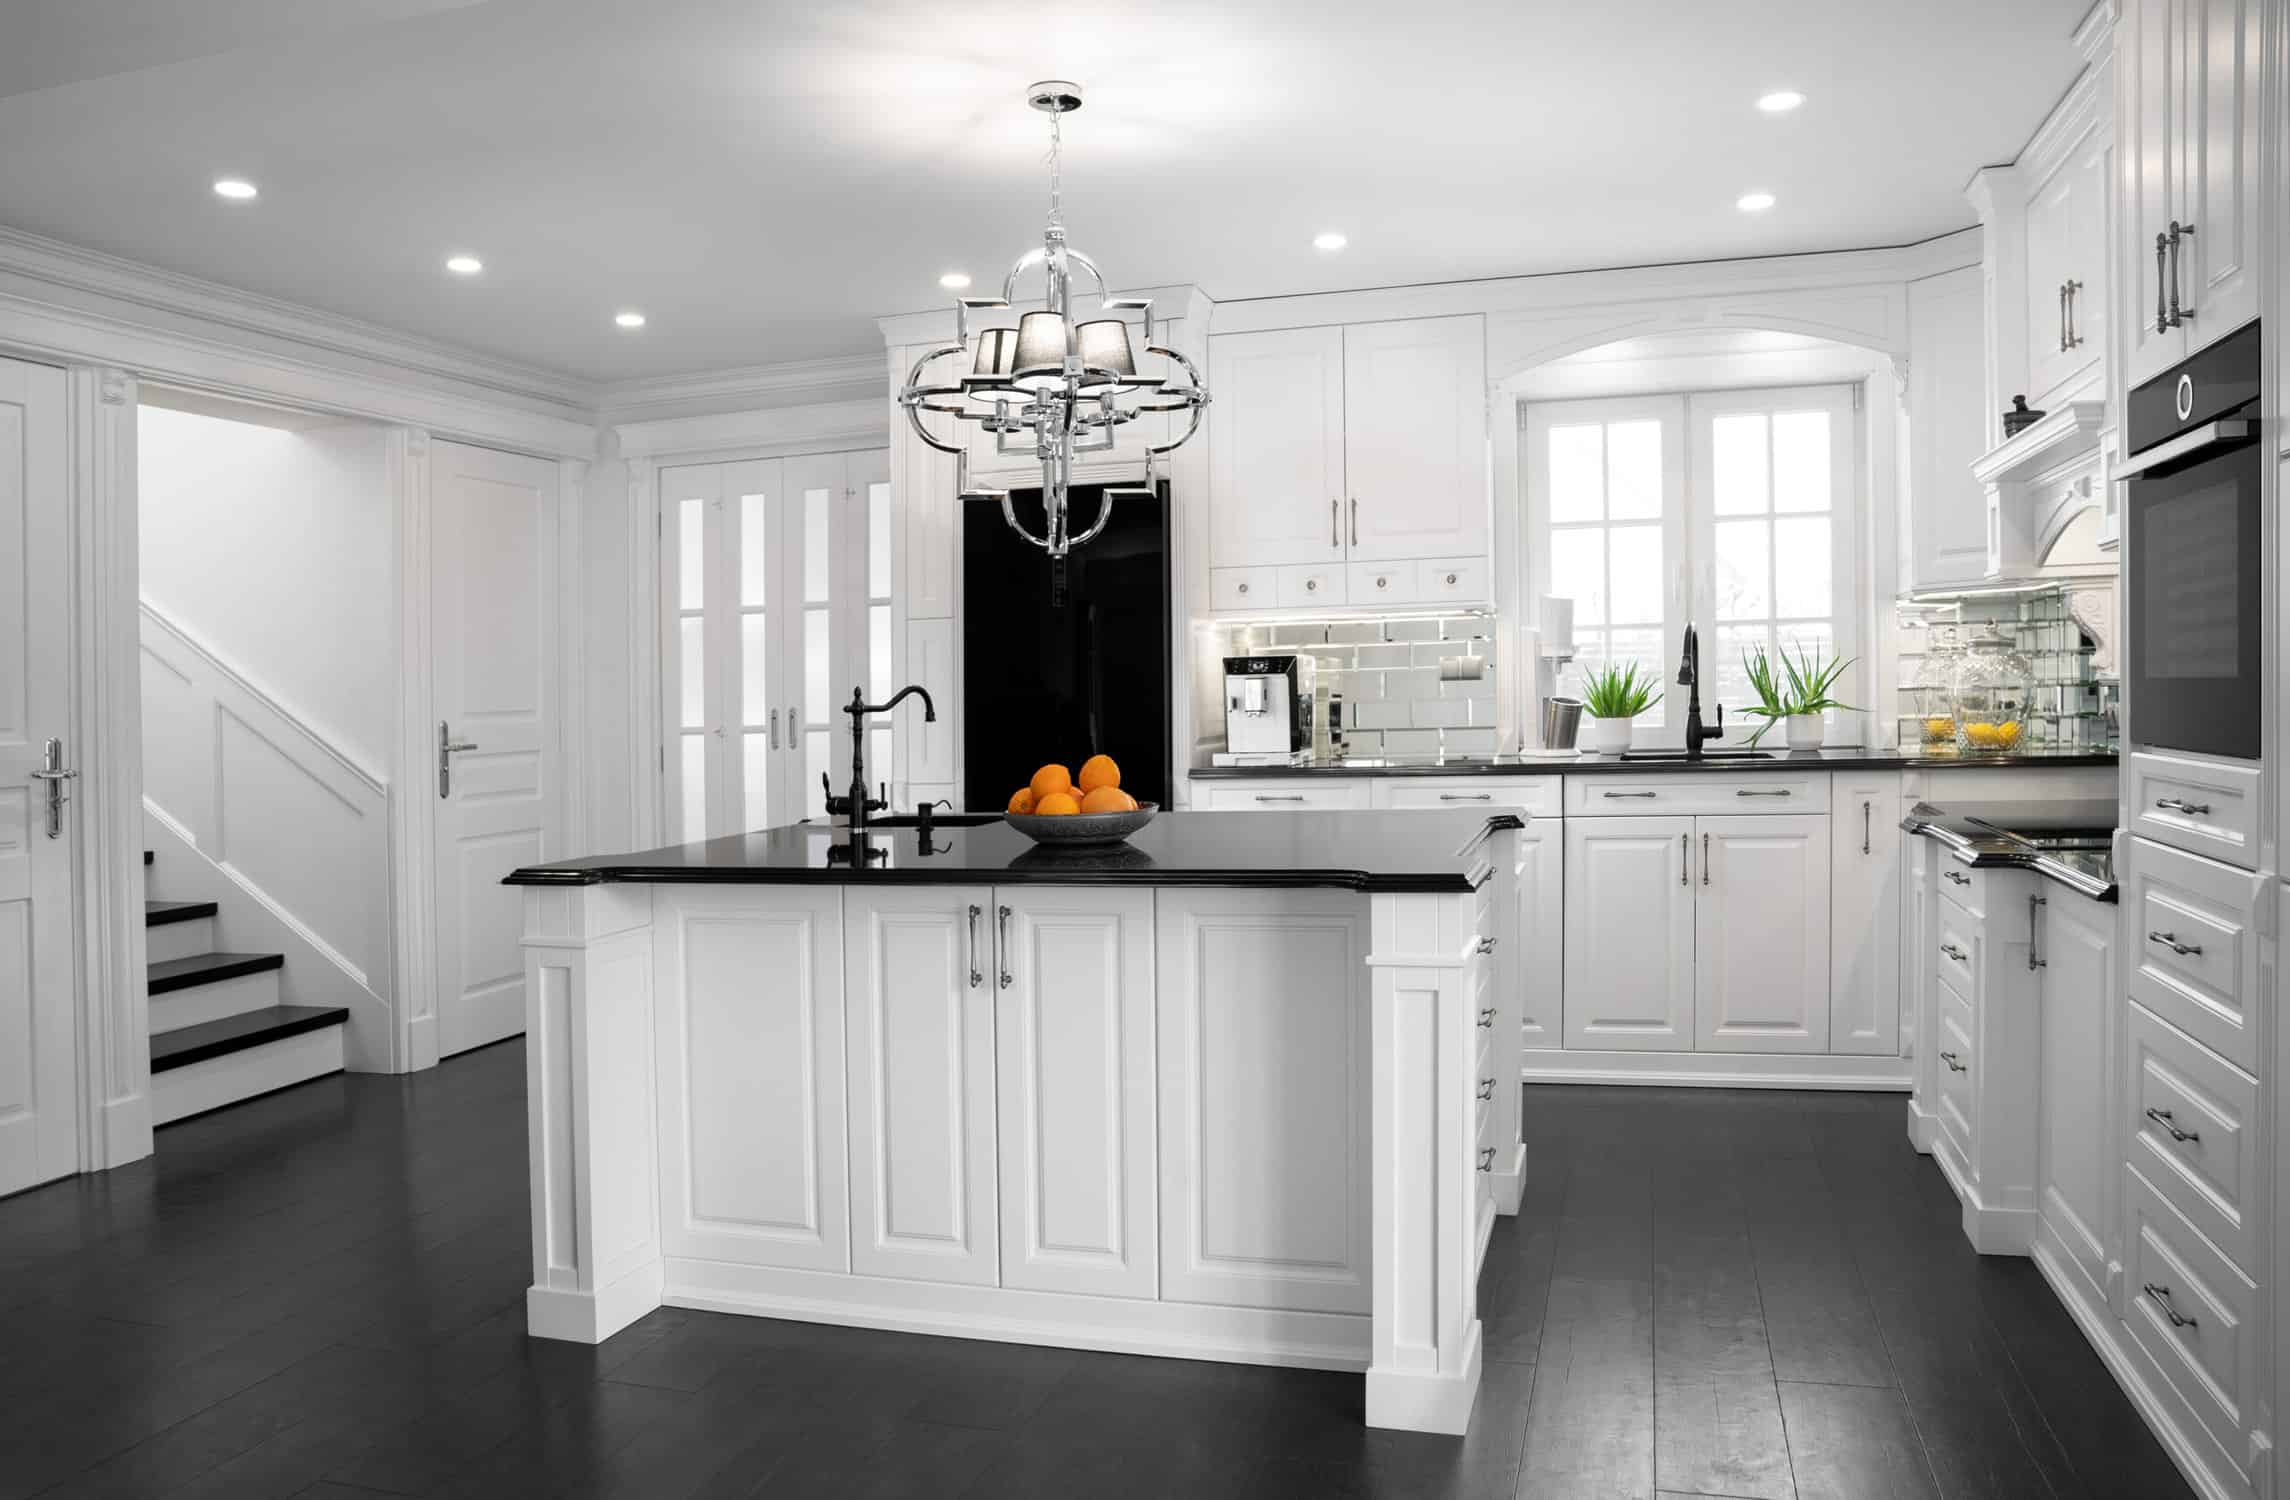
Knowing how to prime cabinets is essential for anyone looking to achieve a flawless finish. As a professional cabinet painter with years of experience, I’ve seen the transformative power of a well-primed surface. Proper priming enhances the final look and ensures the longevity of your paint job. In this blog, I’ll walk you through five proven steps to prime cabinets like a pro, sharing insider tips and techniques.
Step 1: Gather Your Materials
Before you start, it’s crucial to gather all the necessary materials. Having the right tools can make a significant difference in the quality of your work and the time it takes to complete the project. Here’s what you’ll need:
- Primer: Choose a high-quality primer suitable for cabinets.
- Sandpaper: Opt for a medium grit (120-150) for initial sanding and a fine grit (220) for finishing.
- Cleaning Supplies: A degreaser or dish soap and water mixture to clean the cabinets.
- Paint Brushes and Rollers: High-quality brushes for detailed work and foam rollers for smooth surfaces.
- Drop Cloths and Painter’s Tape: Protect surrounding areas and ensure clean lines.
Investing in good-quality materials can save you time and frustration. Cheap brushes, for example, can leave bristles in your primer, creating an uneven surface.
Step 2: Prepare Your Cabinets
Preparation is vital when it comes to priming cabinets. Proper prep work ensures that the primer adheres well and provides a smooth base for the paint. Here’s how to prepare your cabinets:
Remove Cabinet Doors and Hardware
- Label Each Door and Hardware: Use masking tape and a marker to label each door and its corresponding hardware. This will make reassembly much more manageable.
- Clean Thoroughly: Use a degreaser or a mixture of dish soap and water to remove grease, grime, or dust from the surfaces. Clean cabinets allow the primer to adhere better.
Sand the Surfaces
- Initial Sanding: Rough the surface with medium-grit sandpaper (120-150). This helps the primer grip the wood.
- Final Sanding: Finish with fine-grit sandpaper (220) for a smooth surface.
I once had a client who skipped the cleaning and sanding steps, thinking they needed to be revised. Within months, the paint started peeling, leading to a complete redo. Since then, I have always stressed the importance of thorough prep work.
Step 3: Choose the Right Primer
Selecting the suitable primer is crucial for a perfect finish. Different primers work better on various surfaces and conditions.
Types of Primer Paint
- Oil-Based Primers: Great for sealing wood and blocking stains, but require mineral spirits for cleanup.
- Latex-Based Primers: They are easier to clean up with water, quick-drying, and have less odor. However, they may not block stains as effectively as oil-based primers.
- Shellac-Based Primers: Excellent at sealing and stain-blocking but can be challenging due to their quick drying time.
I recommend a high-quality latex-based primer for most cabinet painting projects. It provides excellent adhesion and is easy to work with. Sherwin-Williams Multi-Purpose Latex Primer is one of my go-to products.
Step 4: How to Prime Cabinets Effectively
Now, let’s dive into the actual process of how to prime cabinets. Follow these steps for the best results:
Apply the Primer
- Start with the Edges and Detailed Areas: Use a high-quality brush to apply primer to the edges and any detailed areas first.
- Use a Roller for Flat Surfaces: For larger, flat surfaces, use a foam roller to apply a smooth, even coat.
Technique Tips
- Apply Thin Coats: Multiple thin coats are better than one thick coat. This prevents drips and ensures a smooth finish.
- Work in Sections: To avoid visible brush marks, work in small sections and maintain a wet edge.
Always follow the manufacturer’s instructions regarding drying times between coats. This can vary depending on the type of primer you’re using.
Step 5: Allow Proper Drying Time and Inspect
Proper drying time is crucial for a durable finish. Rushing this step can ruin all your hard work.
Drying and Curing
- Allow Ample Drying Time: Typically, primers require at least 24 hours to dry completely. However, this can vary based on humidity and temperature.
- Inspect the Surface: Once the primer is dry, inspect the surface for imperfections. Lightly sand any rough spots with fine-grit sandpaper (220) and wipe away dust with a tack cloth.
Final Sanding and Touch-Ups
- Final Sanding: A light sanding will ensure a smooth finish. Use fine-grit sandpaper (220) and sand gently.
- Touch-Up Primer: If you notice any missed spots or thin areas, apply a touch-up primer and allow it to dry completely.
In one of my early projects, I was impatient and needed to allow more drying time between coats. The finish ended up needing to be more tacky and uneven. Since then, I have always emphasized the importance of patience in achieving a professional finish.
Your Dream Cabinets Start Here!
Priming cabinets may seem daunting, but with the proper steps and a bit of patience, you can achieve a flawless finish that will last for years. Remember, the key to a perfect paint job is in preparing and applying the primer.
By following these five proven steps to prime cabinets, you’ll ensure a smooth, durable base for your paint, resulting in a stunning final look.
Our Expertise in Roberto’s Painting
At Roberto’s Painting INC., we focus on providing top-notch cabinet painting and refinishing services for homeowners in Nashville, Franklin, Brentwood, and the surrounding areas. With over two decades of experience and a team with 150 years of combined expertise, we excel at refreshing and modernizing kitchens and bathrooms by cabinet painting. Our skilled crews use premium Sherwin-Williams paints to revamp your space completely.
To give your home a fresh look with custom-colored cabinets, reach out to our family-owned business today at 615-505-4226 for a FREE estimate. We’re excited to help you rejuvenate your home.


