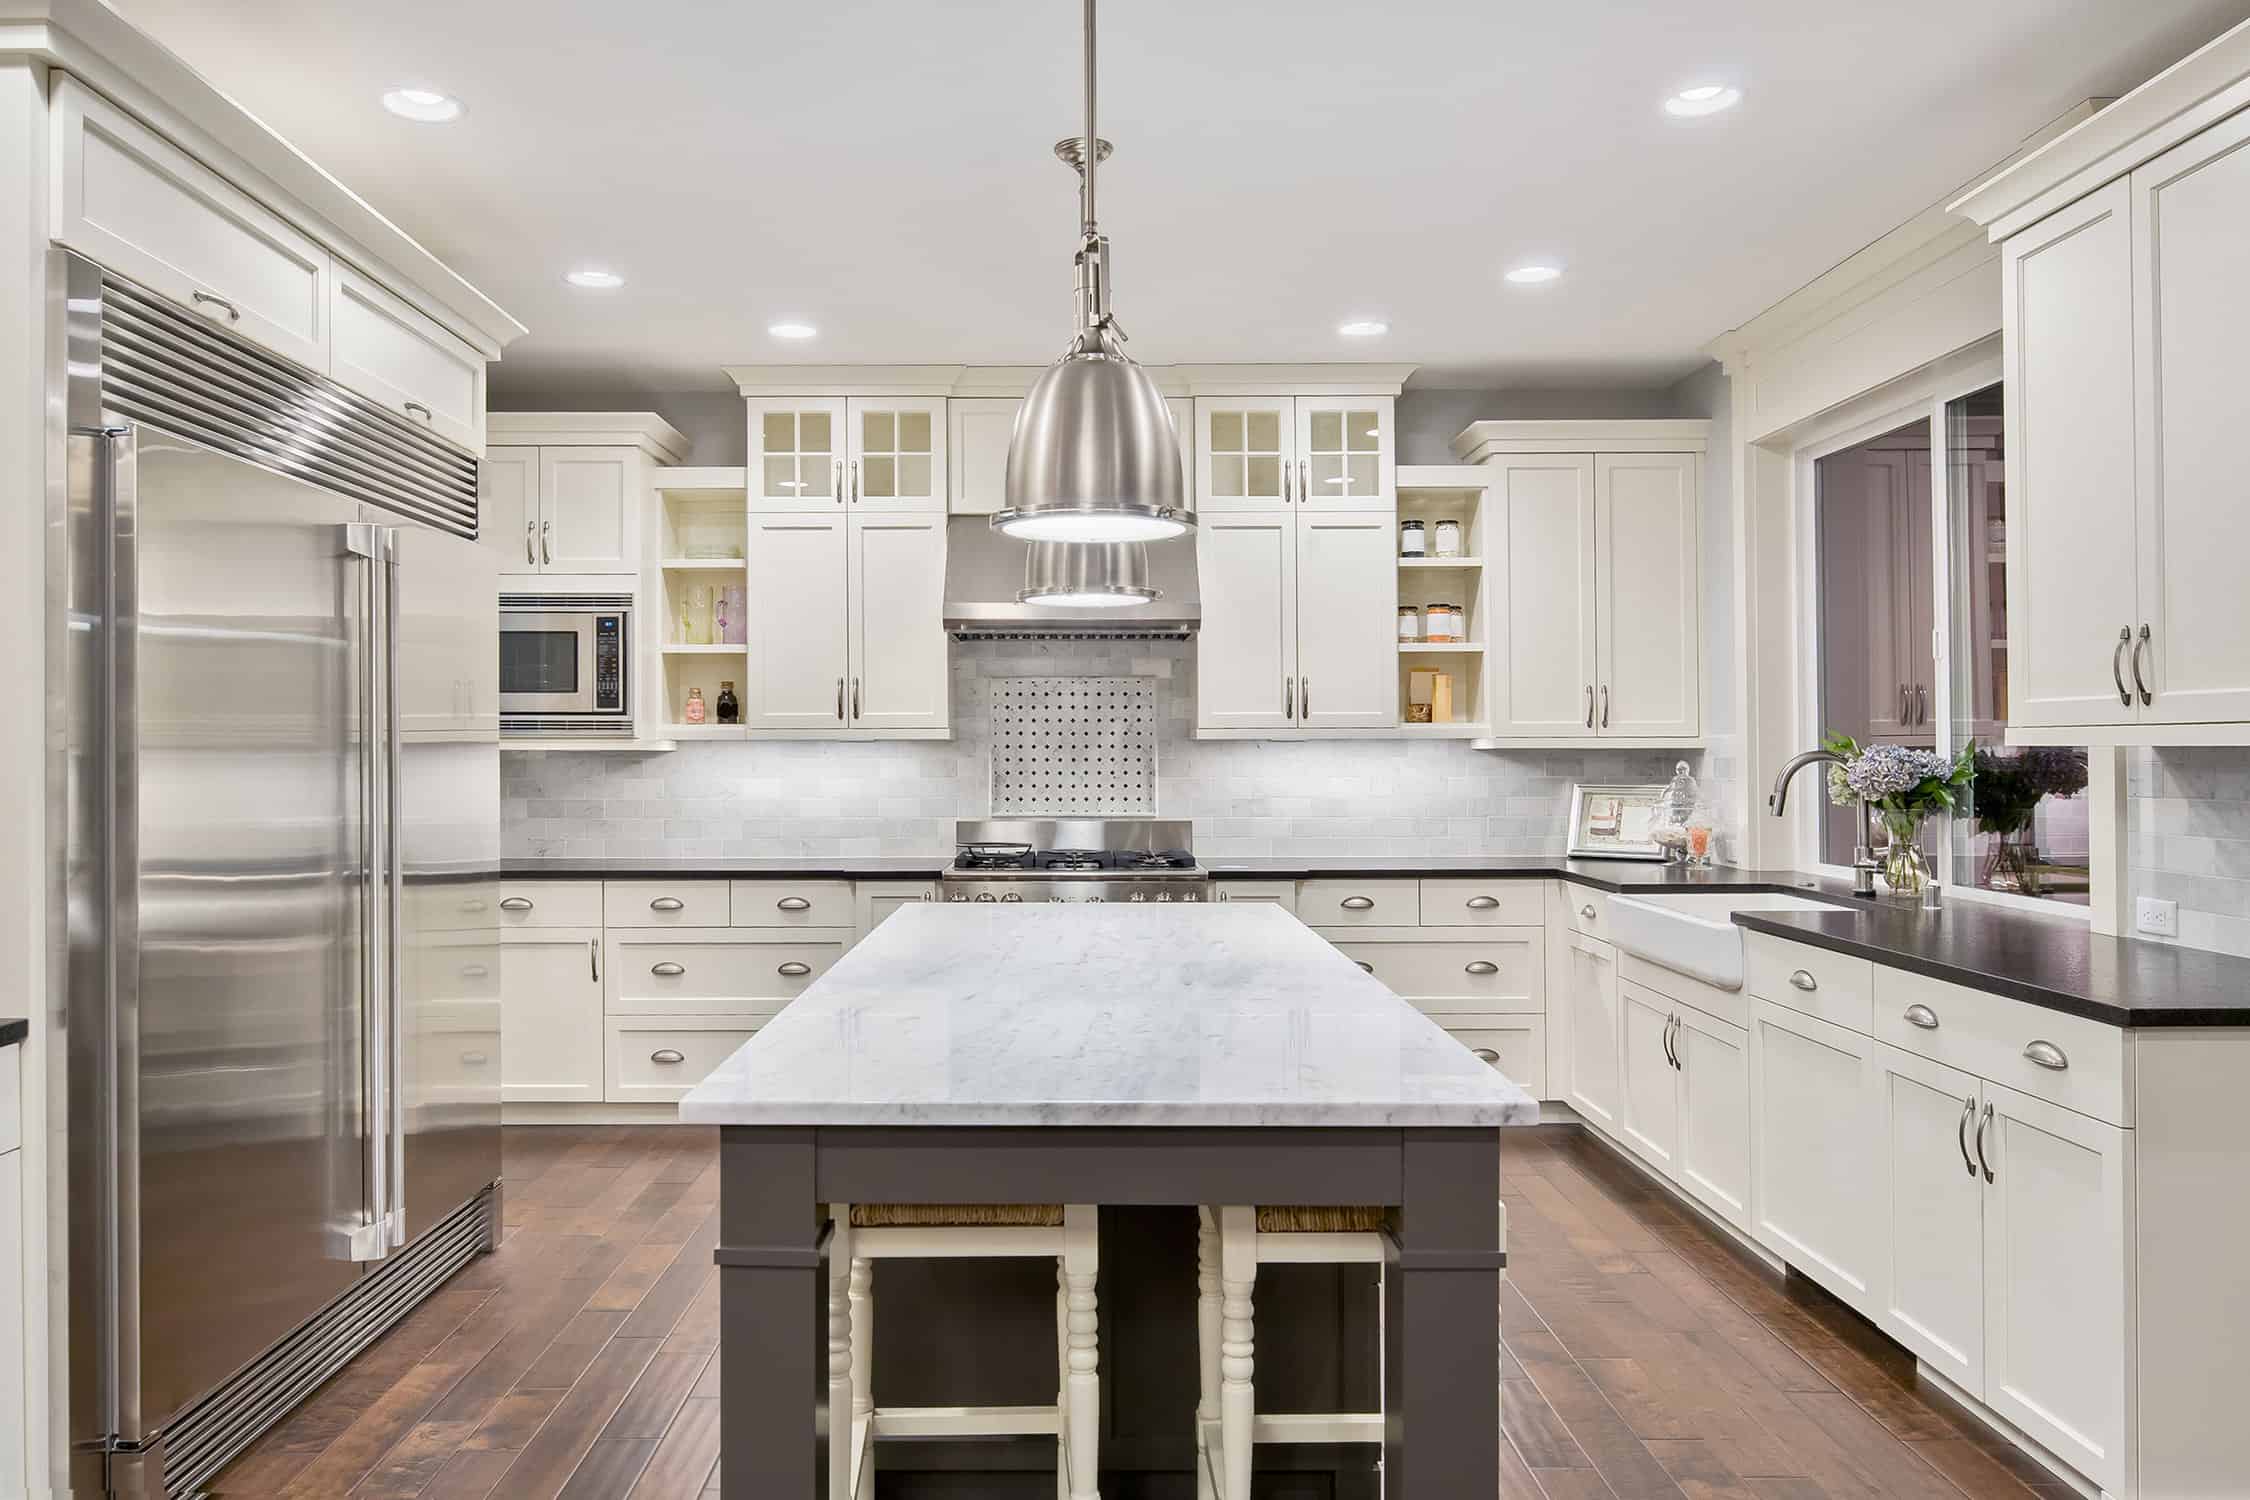
Are you looking for tips for painting cabinets to give your kitchen a fresh, professional look without breaking the bank? As an expert with years of experience, I understand homeowners’ challenges when trying to achieve that perfect finish. In this comprehensive guide, I’ll share my top tips for painting cabinets to help you transform your space on a budget.
Prepping Your Space
Before painting, it’s crucial to prepare your space properly. This step ensures a smooth and successful painting process. Start by clearing the workspace around your cabinets. Remove any items that could get in the way, and cover nearby surfaces with protective drop cloths to prevent paint splatters.
Next, thoroughly clean your cabinets. Use a degreaser to remove any built-up grime and grease that could affect the paint’s adhesion. A clean surface is critical to achieving a professional-looking finish.
Choosing the Right Paint and Tools
The quality of your paint and tools can significantly impact the outcome of your cabinet painting project. When selecting paint for cabinets, opt for a high-quality, durable formula that can withstand daily wear and tear. Look for paints specifically designed for cabinets and trim for the best results.
Investing in the right painting tools is equally important. Quality brushes and rollers can make a difference in achieving smooth, even coats of paint. Please don’t skimp on these essentials; they can help you achieve professional results.
Tips for Painting Cabinets Like a Pro
1. Apply Primer for a Smooth Finish
One of the most critical tips for painting cabinets is to apply a primer coat before painting. Primer helps the paint adhere better to the surface and creates a smooth base for the topcoat. This step is especially crucial if you paint over dark or stained cabinets.
2. Use Quality Brushes and Rollers
When it comes to one of the best tips for painting cabinets, the tools you use matter. Invest in high-quality brushes and rollers to ensure a flawless finish. Cheap brushes can leave streaks and bristle marks, while quality tools provide smoother, more even coverage.
3. Apply Thin Coats for Even Coverage
Applying thin coats of paint to avoid paint drips and achieve a professional finish is one of the most effective tips for painting cabinets. Thick coats can lead to drips and runs, ruining the overall look of your cabinets. Take your time and apply multiple thin coats, allowing each coat to dry completely before applying the next.
4. Proper Drying Time Between Coats
One of the tips for painting cabinets is that sufficient drying time between coats is crucial for a successful cabinet painting project. Rushing the process can result in tacky, uneven surfaces. Follow the paint manufacturer’s recommendations for drying times and resist the urge to rush.
5. Sanding Between Coats for a Smooth Surface
For the smoothest finish, lightly sand between coats of paint. This step helps remove any imperfections and ensures a seamless transition between layers. Use fine-grit sandpaper and sand toward the wood grain for the best results. You’ll see that this is one of the best tips for painting cabinets.
How to Avoid Paint Drips and Runs
Paint drips and runs can quickly turn a professional-looking paint job into a messy disaster. Here are some tips for avoiding paint drips when painting cabinets:
1. Technique Matters
The way you apply paint can significantly impact the occurrence of drips and runs. Use smooth, even strokes, and avoid overloading your brush or roller with paint. Practice good painting techniques to achieve a flawless finish.
2. Maintain Paint Consistency
Consistency is vital when it comes to painting. Ensure that your paint is thick enough. If it is too thick, it can lead to drips and uneven coverage. If needed, add a small amount of water or paint conditioner to thin out the paint.
3. Use Additives to Reduce Drips
Certain paint additives can help slow down paint drying time, reducing the likelihood of drips and runs. Consider using a paint extender or conditioner to improve the flow of the paint and achieve a smoother finish.
4. Finishing Touches
Once you’ve completed the painting process, it’s time for the finishing touches to elevate your cabinets’ overall look. Remove painter’s tape carefully to avoid damaging the paint, and reinstall cabinet hardware once the paint has thoroughly dried.
A final inspection will ensure that everything looks pristine and professional. Take the time to step back and admire your work, knowing that you’ve successfully transformed your cabinets on a budget.
Mastering Your Cabinet Makeover: Top Tips for Painting Cabinets Like a Pro
Following these tips for painting cabinets will help you achieve professional results without breaking the bank. Remember to prep your space correctly, choose the right paint and tools, and apply thin coats for an even finish. By avoiding paint drips and taking time throughout the process, you can transform your cabinets and refresh your space.
Roberto’s Painting INC. focuses on cabinet painting and refinishing for residents in Nashville, Franklin, Brentwood, and nearby regions. With two decades of hands-on experience and a collective team experience spanning 150 years, we excel in revitalizing kitchens and bathrooms through expert cabinet painting. Our skilled crews employ premium Sherwin-Williams paints to revamp your living spaces completely.
Contact our family-owned business at 615-505-4226 for a FREE estimate, and let us rejuvenate your home with customized cabinet solutions. We’re eager to bring a fresh perspective to your living space!


